Showing posts with label seam binding. Show all posts

Wednesday, October 14, 2015

A few new precious offerings!


It's funny how easily we are sucked into everyday life stuff.
You know, laundry, cooking, cleaning, blah...blah...blah.
Yes, these things are very necessary but of course
and it takes us away from creating and doing what we really love!
But real life is real life and it takes front and center of course...

I finally made my way back into the studio and finished a few new projects!
Four treasure pockets that are ready to be filled with YOUR treasures.
I decided not to fill these because I want who purchases them to fill them
with THEIR keepsakes and things that they love.

These pieces were meant for you to pull out those wonderful treasured photos,
sweet old baby shoes, grandmother's favorite pin, a beautiful poem,
your mother's gloves when she was a little girl...you get the picture!
Fill these pockets with treasures so that you can see them each and every day!!!
It will give you joy and always bring back precious memories!

They are all listed here in my Etsy shop ~


I just received an order from my very favorite seam binding company!!!
I thought I'd share the colors I chose....
Should you place an order, please tell them that
The Feathered Nest sent you!!!


Sweet dreams angels ~


Wishing you a wonderful Wednesday precious friends!

Hugs and love,
Dawn


Tuesday, July 21, 2015

A few little pretties!


I've managed to finish several projects I've had waiting around here!
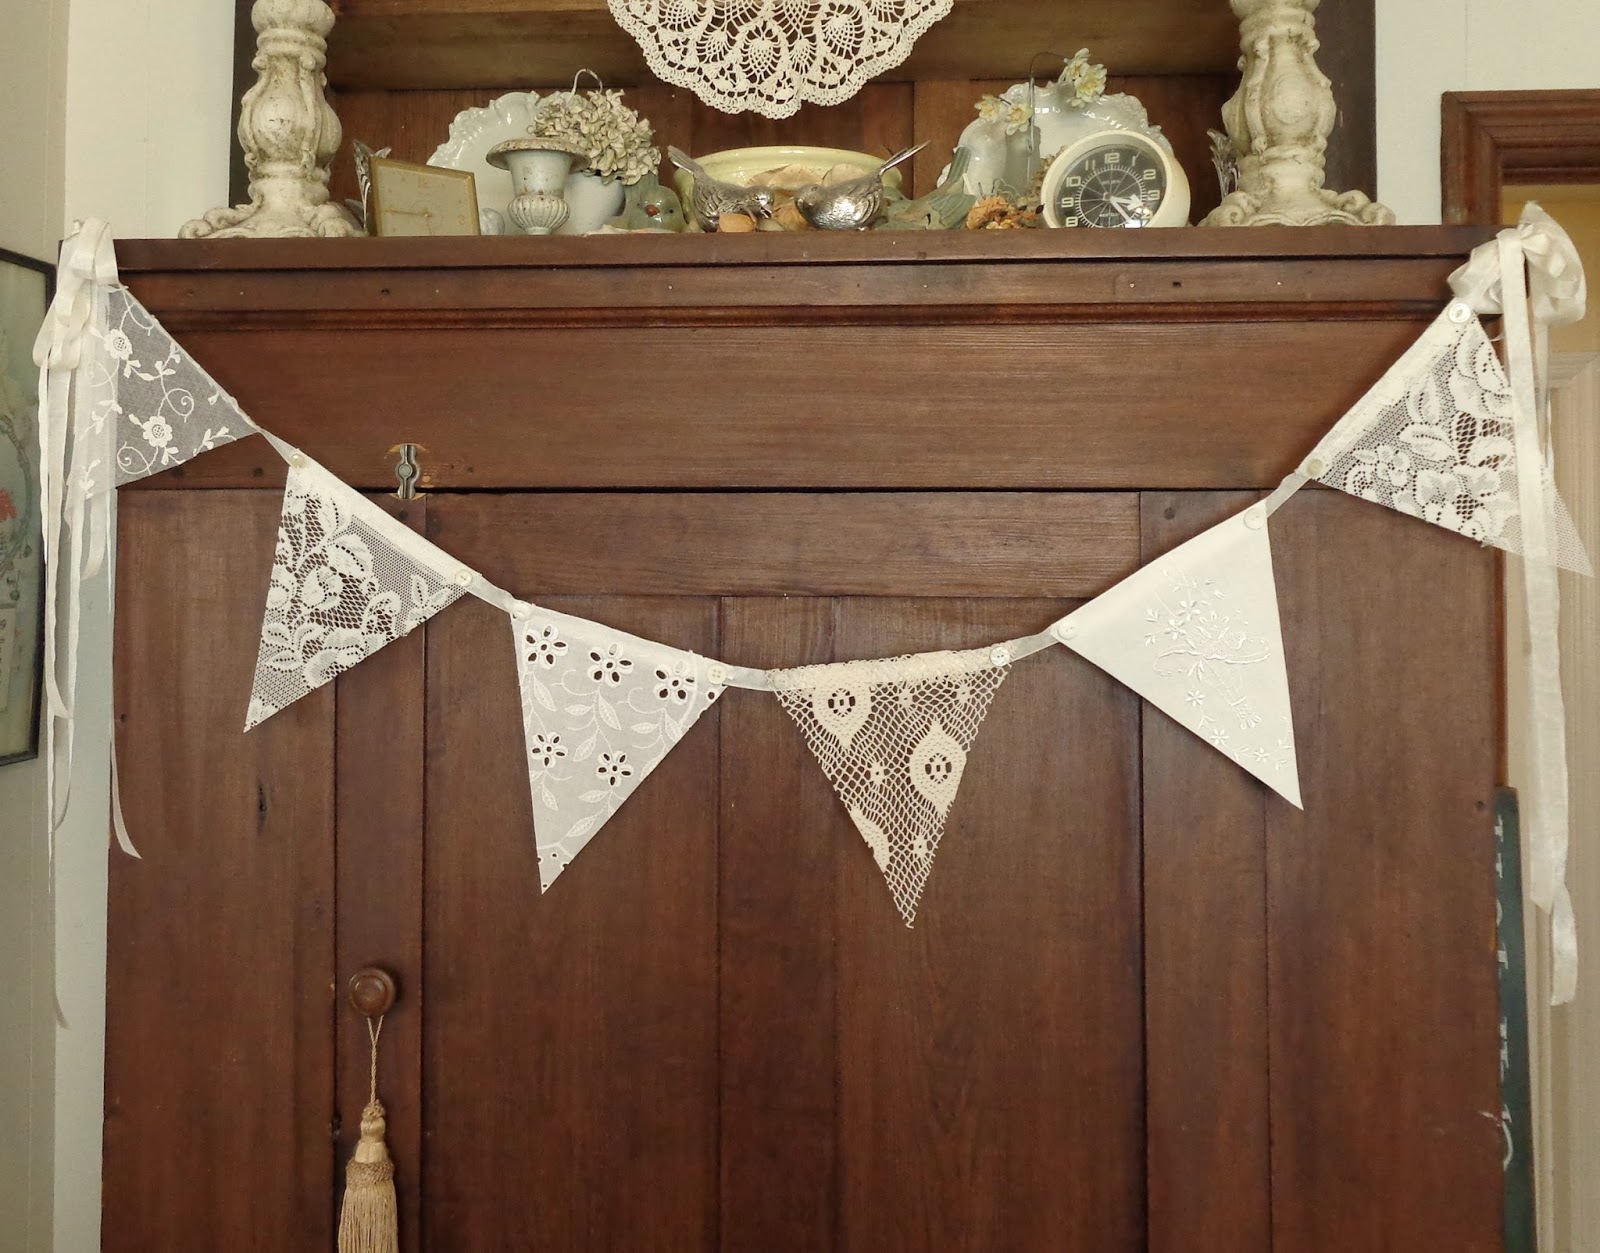
My sweet daughter-in-law requested one of my lace buntings so
I thought I would go ahead a make several to list in my shop as well!

These are created from wonderful, old pieces of lace and strung together
on a long piece of seam binding. I add pretty seam binding bundles on each end
plus add several vintage buttons on each flag!
Each one is different but that's how I love things to be.

I'm working on one last treasure organizer too!
I'll be sure to share photos soon ~

These have all be listed in my Etsy store if you'd like to take a peek!


Wouldn't it be pretty to hang two together, staggered???
I should have tried that!

So our short summer (time off from school) will soon be coming to an end
and Noah will begin his SENIOR YEAR!!!
Can you even believe this?
I know many of you have read my blog for awhile and watched
our youngest son grow up. And that he has!!
He's almost 18 years old and stands over 6 feet tall.
But he's still my baby!!!

School begins August 3rd here in Georgia in our county.
It's early but the positive thing is that every six weeks, they get a week off!
And of course 2 weeks off for Christmas.
It works out really well for the students and the teachers.
We'll be enjoying our lazy mornings for just a few more weeks around here...


Thank you always, always for stopping by to see what I'm up to!!
Happy Tuesday precious friends ~
hugs and love,
Dawn


Friday, June 26, 2015

A little something new ~


Today has been such a good day.
I've met so many precious friends in my blogging journey and
today I was able to speak to a dear friend who lives in France
and it. was. WONDERFUL!

Her life has been very busy and we haven't spoken in such a long time.
Sue has been on my mind lately and she can call my phone for free and
then just a few days ago she called to catch up!!!

I couldn't talk at that time but she called back today and we caught up
with each other's lives and all that is going on.

It's just beautiful what this blog has given me.
Friends near and far...some close by some on the other side of the world!
But we all have common threads and love the same things.
THAT is what bonds us together.

* * * * * * * * * * * * * * * * * * * * * * * * * * * * * * 

I gathered some lace together today and decided to make a bunting!!
It is simply cut from a pattern that I found online and I cut the lace,
raw edges and all, to use on my bunting.

I folded over the top edge onto a long length of seam binding and sewed it down.
You could easily use fabric glue to do this though!
I tied a few seam binding bows on each end and accented the corners of each one
with pretty vintage buttons (just glued on with Fabri-tac!)

It sold quickly from my shop but I still wanted to share it with you here ~
I know many of you have the supplies around to make your own!!


I just love using old, forgotten lace pieces to make something pretty!!!!

Thank you always for stopping by to see me here ~
hugs and love,
Dawn


Monday, December 1, 2014

A Little Cyber Monday Seam Binding GOODNESS for you!!!


I am SO EXCITED to share this sweet deal
with all of my dear friends here on my blog!!!

For one day only...
TODAY,
Cyber Monday
December 1st, 2014

If you are needing a little seam binding,
simply place an order with my friend Jeff at Zipperstop...
and if you mention "The Feathered Nest" in your order

ALL THE SEAM BINDING IN YOUR ORDER IS....

BUY ONE,
GET ONE
FREE!!!!!


So visit Jeff at Zipperstop HERE to shop and stock up!!!!

When ordering....for every roll you place in your cart,
mention THE FEATHERED NEST
and the color of the FREE roll you want
in the order notes
when entering your shipping address
and checking out!!!

There is no coupon code...just add the FREE roll colors
in the order notes!!!


Load up dear friends, this is such an AMAZING deal!!!!
You know I love you, right?

Happy Monday angels ~
Hugs and love,
Dawn


Monday, November 10, 2014

It's time for a wonderful GIVEAWAY!


It's time to get creative sweet friends!!!
Time to make a few special gifts...
or even a little something for yourself!!!


I KNOW that you know how much I love seam binding!!!
Zipperstop has always, ALWAYS been my very favorite place
to find beautiful seam binding to use in my artwork.

So I've decided to have a giveaway ~
One free roll of seam binding
(YOUR chosen color)
will be given to
THREE DIFFERENT WINNERS!!!
Each winner will ALSO get to choose
one of my tutorials!!!

PLUS

A GRAND PRIZE WINNER
WILL WIN
A SEAM BINDING
COLOR GUIDE,

ONE FREE ROLL OF SEAM BINDING
and
TWO OF MY TUTORIALS!


I always try to share my favorite shades with you...
with photos hoping they help you choose what you love as well!


SOOO.... simply leave a comment on this post and
be sure to let me know which color seam binding
you would love to receive
and which tutorial you would like as well!!!
~ Check out my shop to see all of my tutorials ~
You can see ALL of the beautiful seam binding colors
on the Zipperstop website!

PLEASE leave your email address if you don't have a blog
so I can contact you should you win!

Should you share my giveaway on any social media
leave an additional comment with the link to where you shared
for ANOTHER chance to win!!!!!

Giveaway ends this Friday afternoon,
Nov. 14th at 6 pm EST
I will post the winners soon after!!!


Wishing you very happy Monday dear friends!
hugs and love,
Dawn


Thursday, November 6, 2014

A change of heart ~


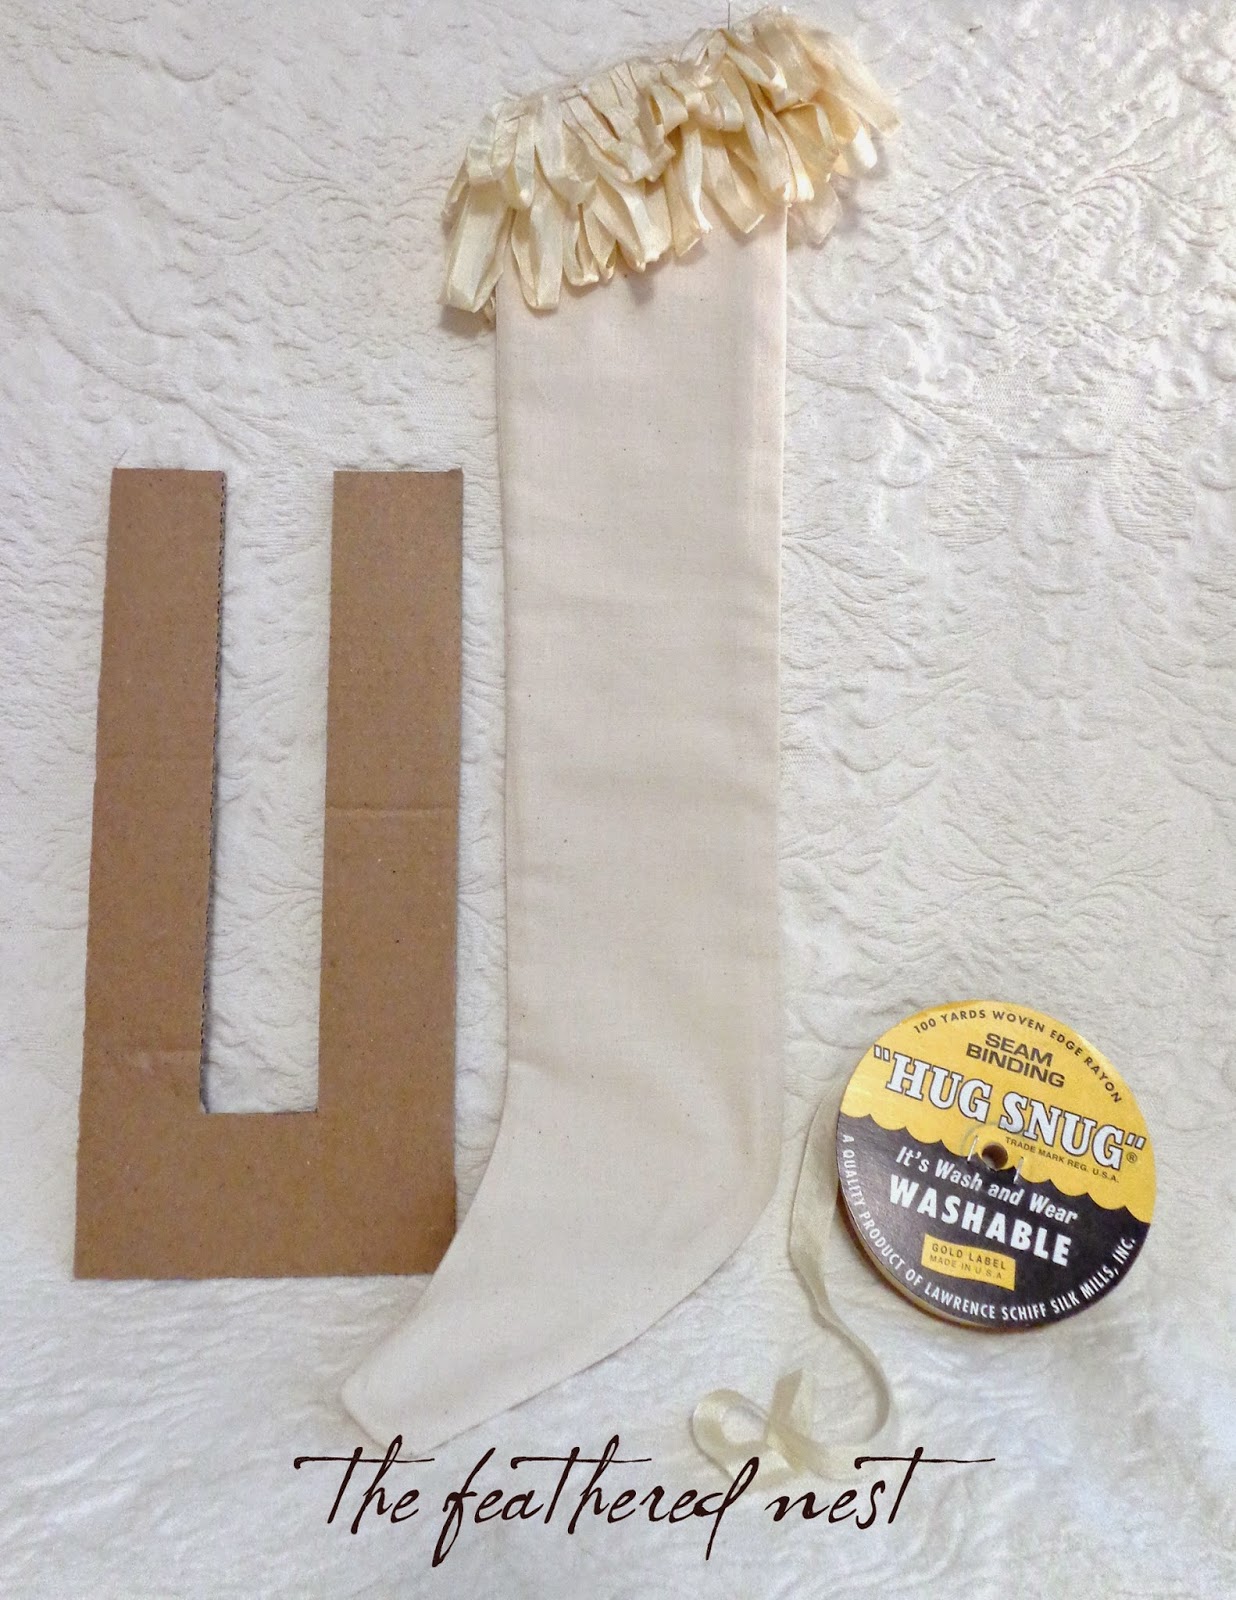
I had originally thought that I would use my new seam binding fringe
on a stocking I started a few weeks ago BUT
it just wasn't working for me.

The more I stared at it, the longer I let it sit in my studio!
Plus, I didn't care for the slanted opening I had made
for my stocking pattern either. That didn't help a bit!

But after mulling it over for waaaay too long, I chopped the top off
the stocking and began playing with lace and trims.
And the strangest thing?
I pulled out a pretty little satin doll dress that the top was torn and
chopped the skirt off to use on the stocking too!

I finally finished it last night and am so pleased with the way
it finally turned out....
and what about the fringe I made?
It's going on a new project of course!

Here's my stocking ~ it's approx. 20" long.
Now listed in my Etsy store too!


Now that I've finished that project,
it's time to get crackin' on some new goodies!!


I hope you're having such a wonderful week precious friends ~
Happy Thursday!

hugs and love,
Dawn


Tuesday, October 28, 2014

A new FREE Tutorial! How to Create Seam Binding Fringe ~


Have you ever had an idea rolling around in your head and
FINALLY you try it and it actually WORKS??!!!

I'd been thinking about making a cardboard template that I could
wrap seam binding around BUT be able to sew it together up the middle
to create my own seam binding fringe.

1. I found some heavy duty cardboard in my box stash and cut a
5 1/2" wide x 12" long rectangle.

Then I cut out about 1 3/4" strip out of the middle but not
all the way on one end. I wanted a very tall "U" shape.

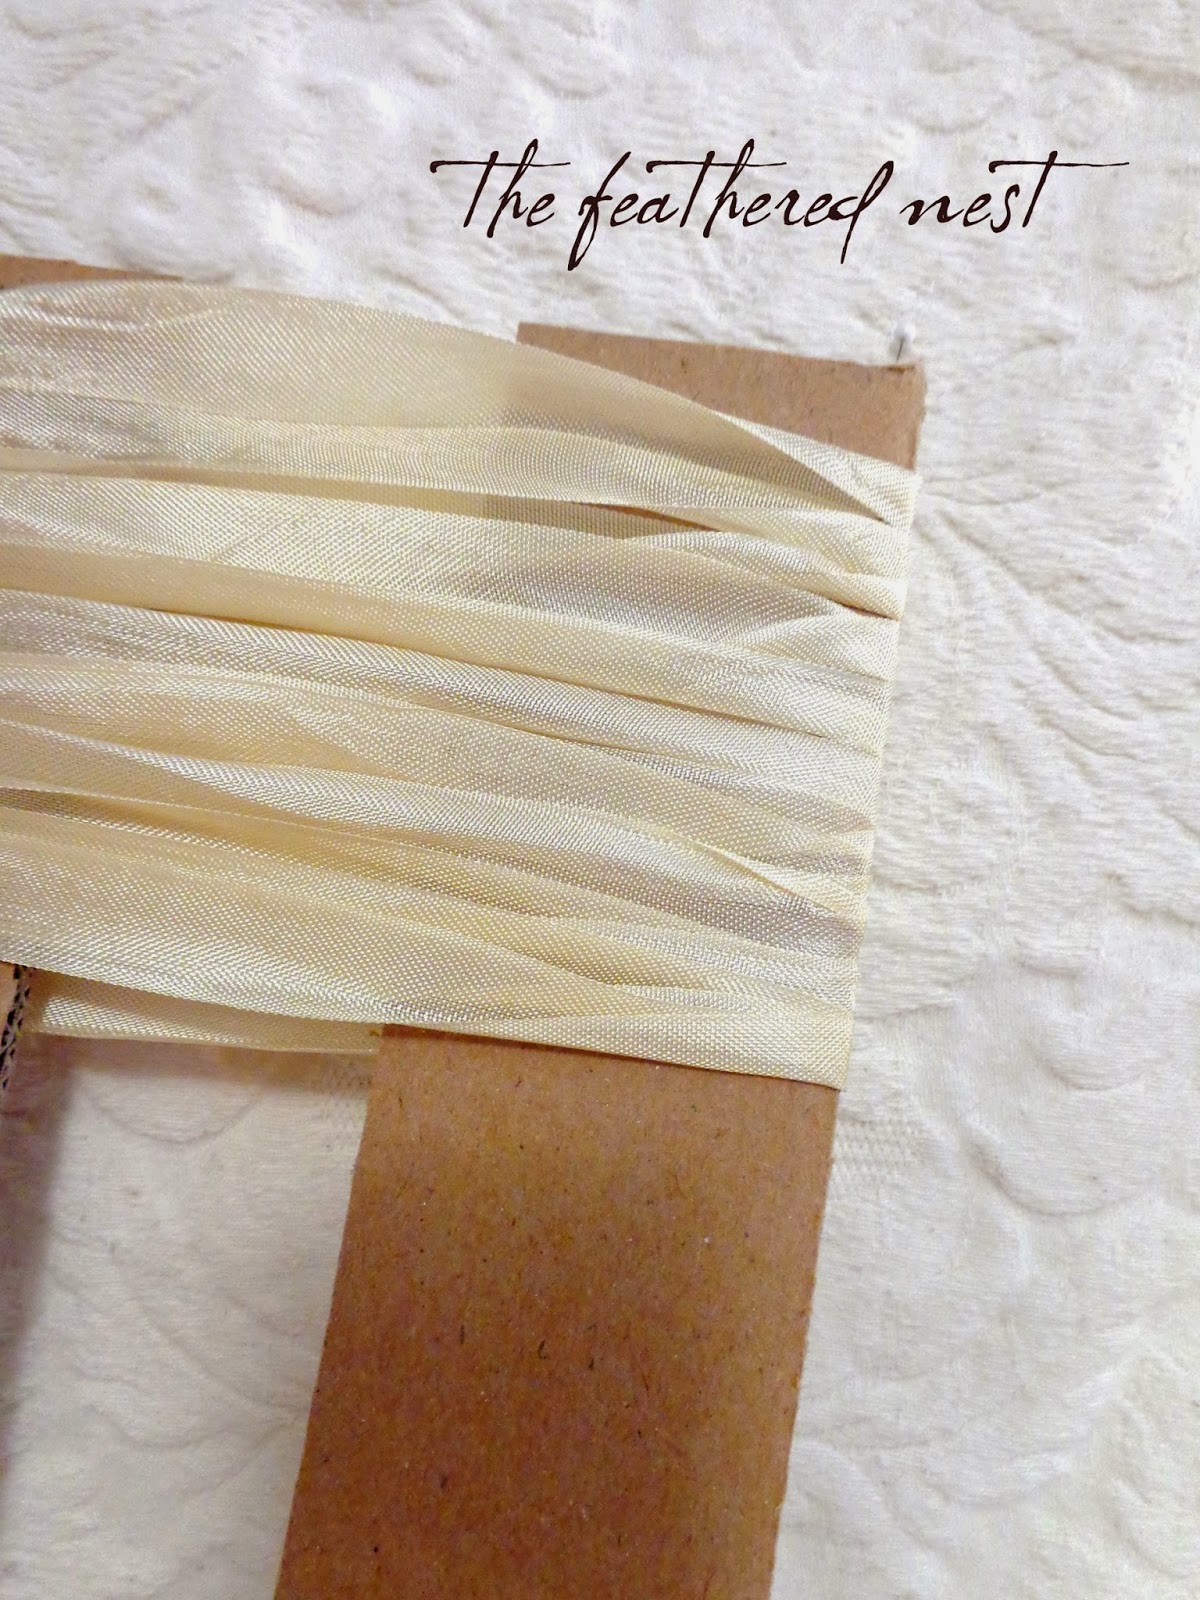
2. Pin the end of the seam binding to the cardboard on one side
and begin wrapping around the cardboard, twisting the seam binding
when you reach each side to go back around. The twist will add a bit
of dimension and fluff to the fringe.


I made a makeshift spool holder with my pin cushion and a doll needle!!


3. Continue wrapping and twisting until you almost get to the bottom
of the opening in the center of your rectangle.
Cut the seam binding even with one side and pin it to the cardboard as well.

At this point you could also add a coordinating fiber or fuzzy yarn
and wrap it around on top of the seam binding to add
even more texture to your fringe. OR maybe add some delicate lace
wrapped around on top of the seam binding!


4. Put a zipper foot on your sewing machine and begin sewing down the middle
of your wrapped cardboard. I chose to sew close to the left side because I wanted
my doubled fringe to be staggered with one layer shorter that the other layer.


5. Carefully guide the sewing machine foot over the seam binding strips,
watching out for your fingers!

Remember to forward and reverse your stitching at the beginning
and end to lock in the threads so they won't come unraveled.


6. Here is how it should look when you are finished sewing through it all.


7. Now begin sliding your seam binding off of the cardboard rectangle.
This was a little tricky for me at first because I'd kind of wound mine tight
but eventually I shimmied it off.


8. Next, fold your seam binding strip in half on the stitch line. Use the warmth
of your fingers to finger press it down. Remember, mine isn't
exactly in half because I wanted the top layer to be shorter than the back layer.
Then using a warm iron (not too hot or it will melt the seam binding)
press the top layer down along stitching line.


9. Attach to your project by sewing it on or even using Fabri-Tac glue and then trim off
any excess that you may have. If you sew it to your project, rather than
enclose it in the seam, you can sew a small strip of lace over your stitch line to hide it.
I have mine pinned to the top of the stocking I'm working on
for now because I want to play with some vintage lace layers and other elements.


So there you have it!!!
An easy way to create your very own seam binding to add to your purses,
collages, stockings, pillows or WHATEVER your heart desires.

♦ You could dampen your hands with water after applying to your project
and then scrunch it to give it wonderful old look!

♦ If you don't care for the loops, you can always cut through the
bottom of them to create a basic fringe.

♦ You could sew a line down the left side of the opening AND
down the right side of the opening and cut straight down the middle
and have DOUBLE the length too!

♦ OH and remember, you can make your cardboard rectangle whatever
size you want...make it longer to create longer sections too!
The measurements of my fringe are 3 1/2" long for the back layer
and 2" long for the top layer.

If you need seam binding, be sure to visit Jeff at Zipperstop and
tell him The Feathered Nest sent you!!!


Don't you just love it when an idea WORKS????
The stocking is still in progress...so stay tuned :)
ps.....the color of the seam binding used in this project is Croquette Beige.


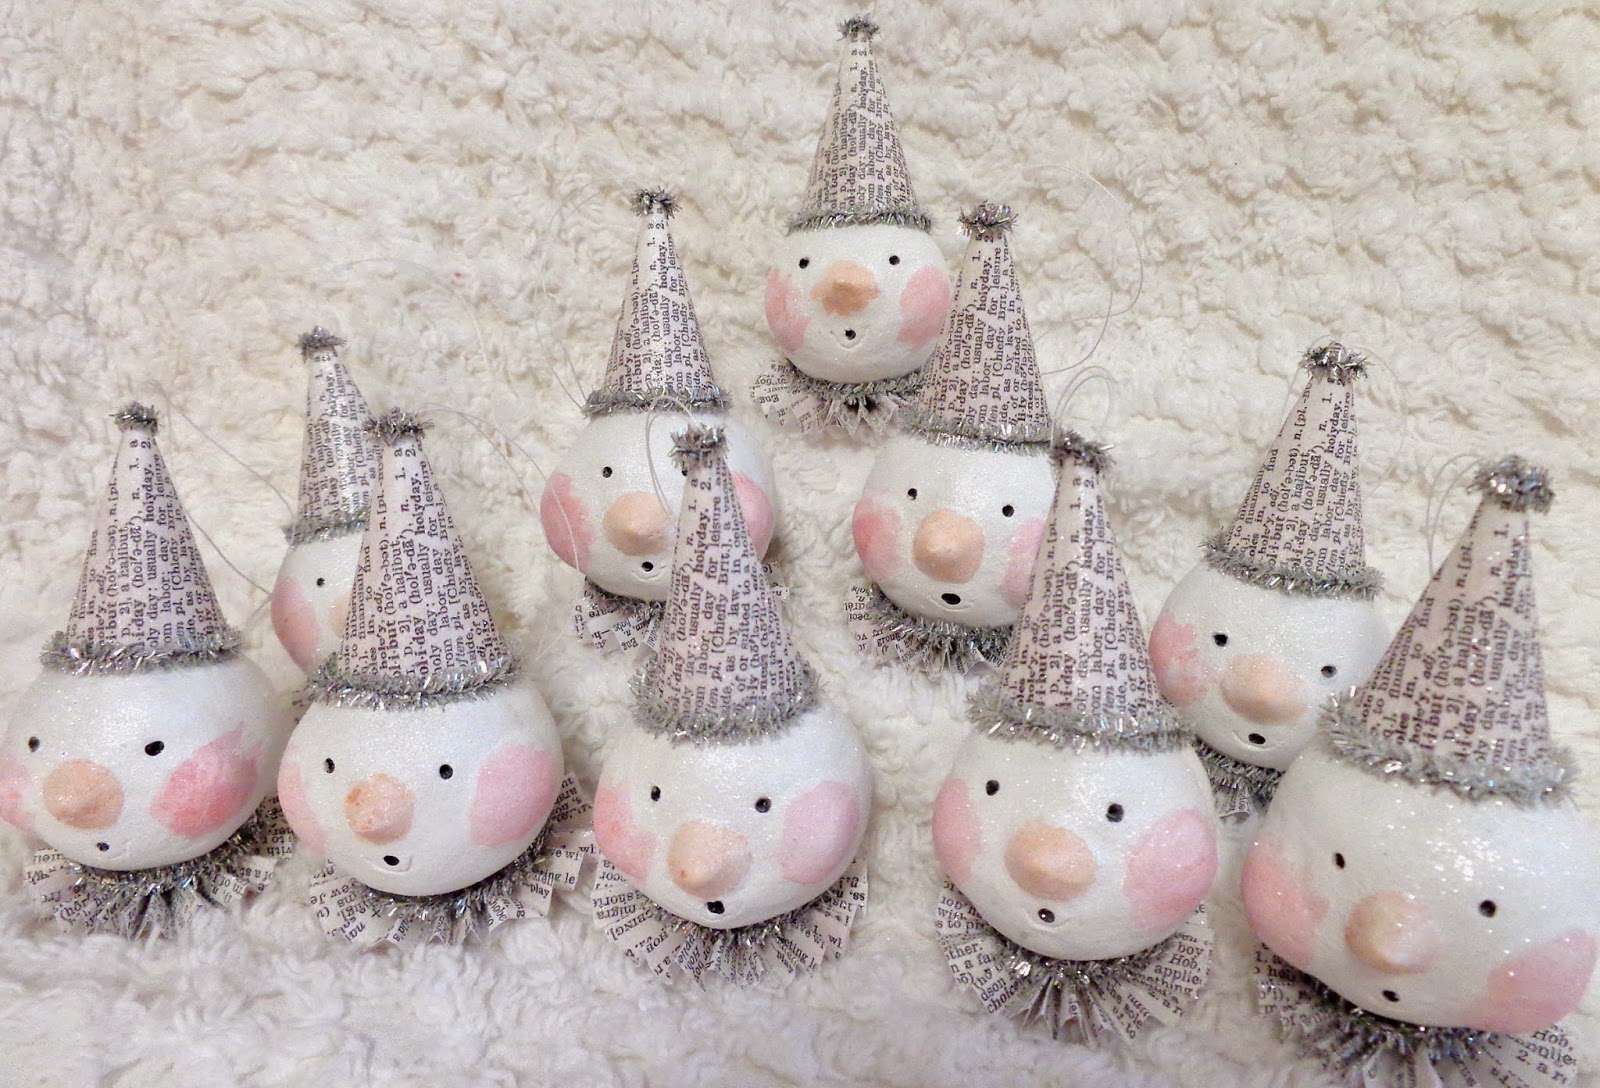
Here's glimpse at the little snowmen ornaments I made for a friend...
all finished and ready to go!!!


Wishing you a wonderful Wednesday dear friends,
hugs and love,
Dawn


Labels

Related Posts Plugin for WordPress, Blogger...